DIY roof installation is different from professional solutions as there’s no extra labour involved. These solutions help you save money but come with potential risks like injury, lack of experience, and a negative impact on long-term durability. The internet is filled with DIY hacks, and you just have to do a bit of research to find the one that suits you best and bring the results you are looking for.
How Exactly Does DIY Roof Installation Work?
If you are looking for quality roof installation services, then Monte Vista Construction is your best option on a budget. Roof installation is not just about grabbing a few tools, tearing off the old roof, and starting the installation process. There are multiple steps included, like installing flashing, starter shingles, and a thorough cleanup after you are finished with the installation. Yes, the entire process is long, but you will be saving a significant sum on labour costs.
Let’s go through a few important DIY roof installation steps:
Handle Necessary Permits
Yes, you need a permit to start your roof installation project. Check with your local building department for relevant permits or compliance rules to avoid issues later. This helps avoid any unpleasant surprises or fines after you have started your work.
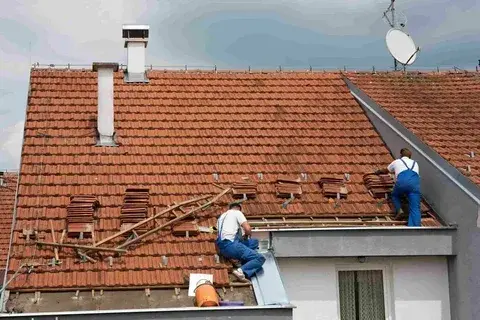
Tear Apart The Old Roof
Start working from the top down and remove all existing roofing material to install the new one later. These steps take a lot of time and physical effort, so make sure you have all the tools ready for a smooth overall process.
Install Flashing
Flashing is a thin waterproof barrier installed before the new roofing material, and it helps prevent leaks and directs water away from the roof to avoid significant leak issues. You should nail this step as the overall longevity of your roof depends on it.
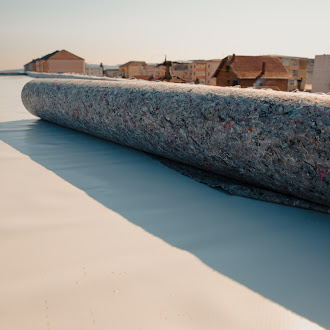
High-Quality Roofing Materials
High-quality roofing materials have a high upfront cost, but the long-term benefits are tremendous. It is essential that you do your research and polish your skills before installing the new roof, as getting this wrong means the entire project will be a waste of time.
Debris Cleanup
After you have successfully installed the new roof, there will be dust particles, needles, and debris on the roof. A thorough cleanup is required, and make sure you have dumpsters ready to collect everything. As a precaution, move your vehicle away from the roof for protection.
A Few Steps That Help You Nail DIY Roof Installation
There are plenty of roofing hacks available on the internet, but you have to find the one that suits you best. A vague solution might end up costing you a significant sum of money, or you might make a crucial mistake that harms the lifespan and warranty of your new roof. These mistakes make the entire roof installation project a hassle, as, instead of saving money, you have to pay a huge sum to rectify your mistakes due to a lack of knowledge.
Let’s study a few steps that positively impact your DIY roof installation project:
Watch Necessary Videos
Asking for professional help is better than the risk of wasting all your effort and money. If you are totally inexperienced and have no idea how to install a new roof, then watch relevant videos on the internet or simply get professional help.
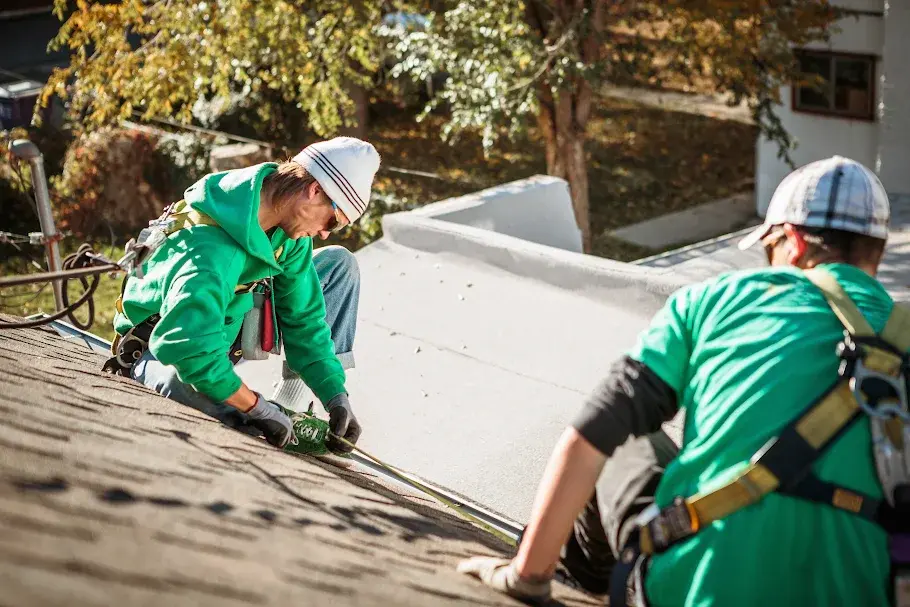
Beware Of Injuries
Injuries from falls are a common occurrence in DIY roofing projects if you are not careful. Instead of saving money, you compromise on your health and end up paying an additional cost. Sharp tools and exposure to electrical wires mean you have to be careful when installing a new roof.
Check The Weather Before Starting Your Project
You cannot work in windy conditions as it increases the chances of a fall, rain can harm roof shingles, and too much snow can crack shingles. Start your project when there are low winds and the temperature is between 4 degrees Celsius and 26 degrees Celsius for ideal results.
Conclusion
DIY solutions seem tempting as they help you save a significant sum of money on labor costs, but it is essential to read all instructions before starting your roof installation project. Unfortunately, if you injure yourself or do not install the roof properly, you might have to incur an extra cost and get professional help later, which will double your expenses.
FAQs
Q1. What are a few important steps in DIY roof installation?
Tearing old roofs, installing flashing, and using new roofing materials are a few of the important steps in DIY roof installation.
Q2. Name a few steps that help nail DIY roofing?
Watching DIY solutions on the internet, taking precautions to avoid injuries, and choosing ideal weather conditions to work help nail DIY roofing.
Q3. What is flashing in roofing terms?
Flashing is a thin waterproof barrier installed before the new roofing material, and it helps prevent leaks and directs water away from the roof to avoid significant leak issues.
Q4. How DIY roofing solutions can help me save money?
DIY roofing solutions mean not paying for professional labour, and this helps you save a significant amount of money.
Q5. What is the ideal temperature to start my DIY roofing project?
Start your project when there are low winds and the temperature is between 4 degrees Celsius and 26 degrees Celsius for ideal results.